Try It
https://photobooth.interfinity.tech
Overview
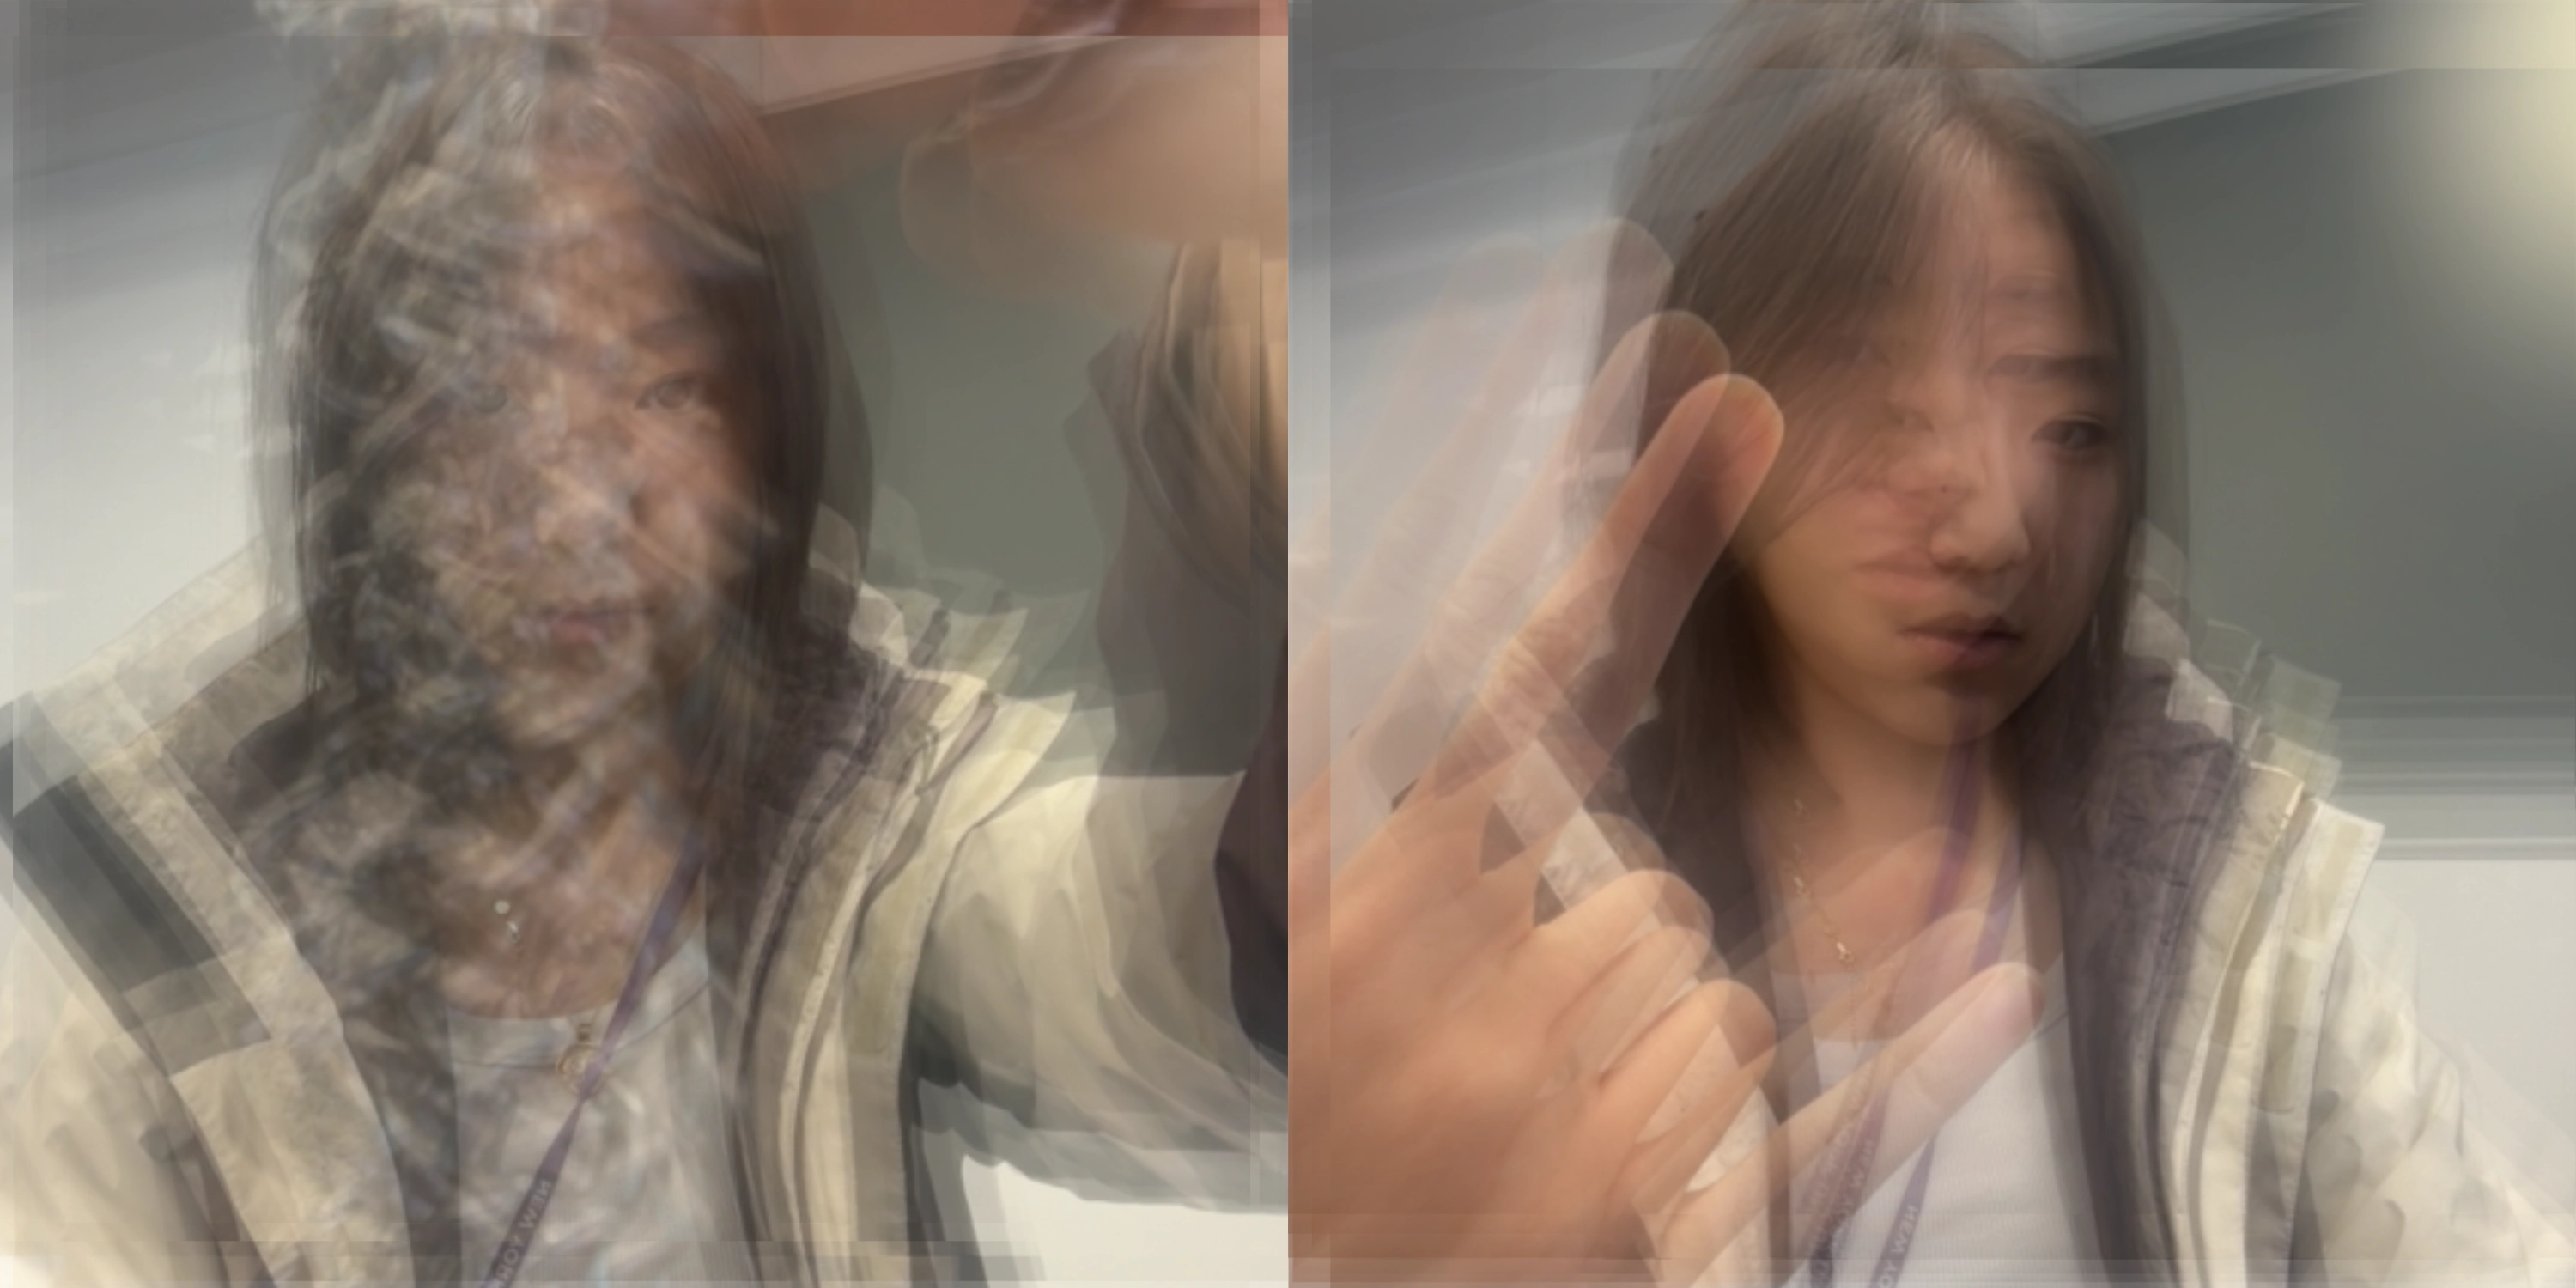
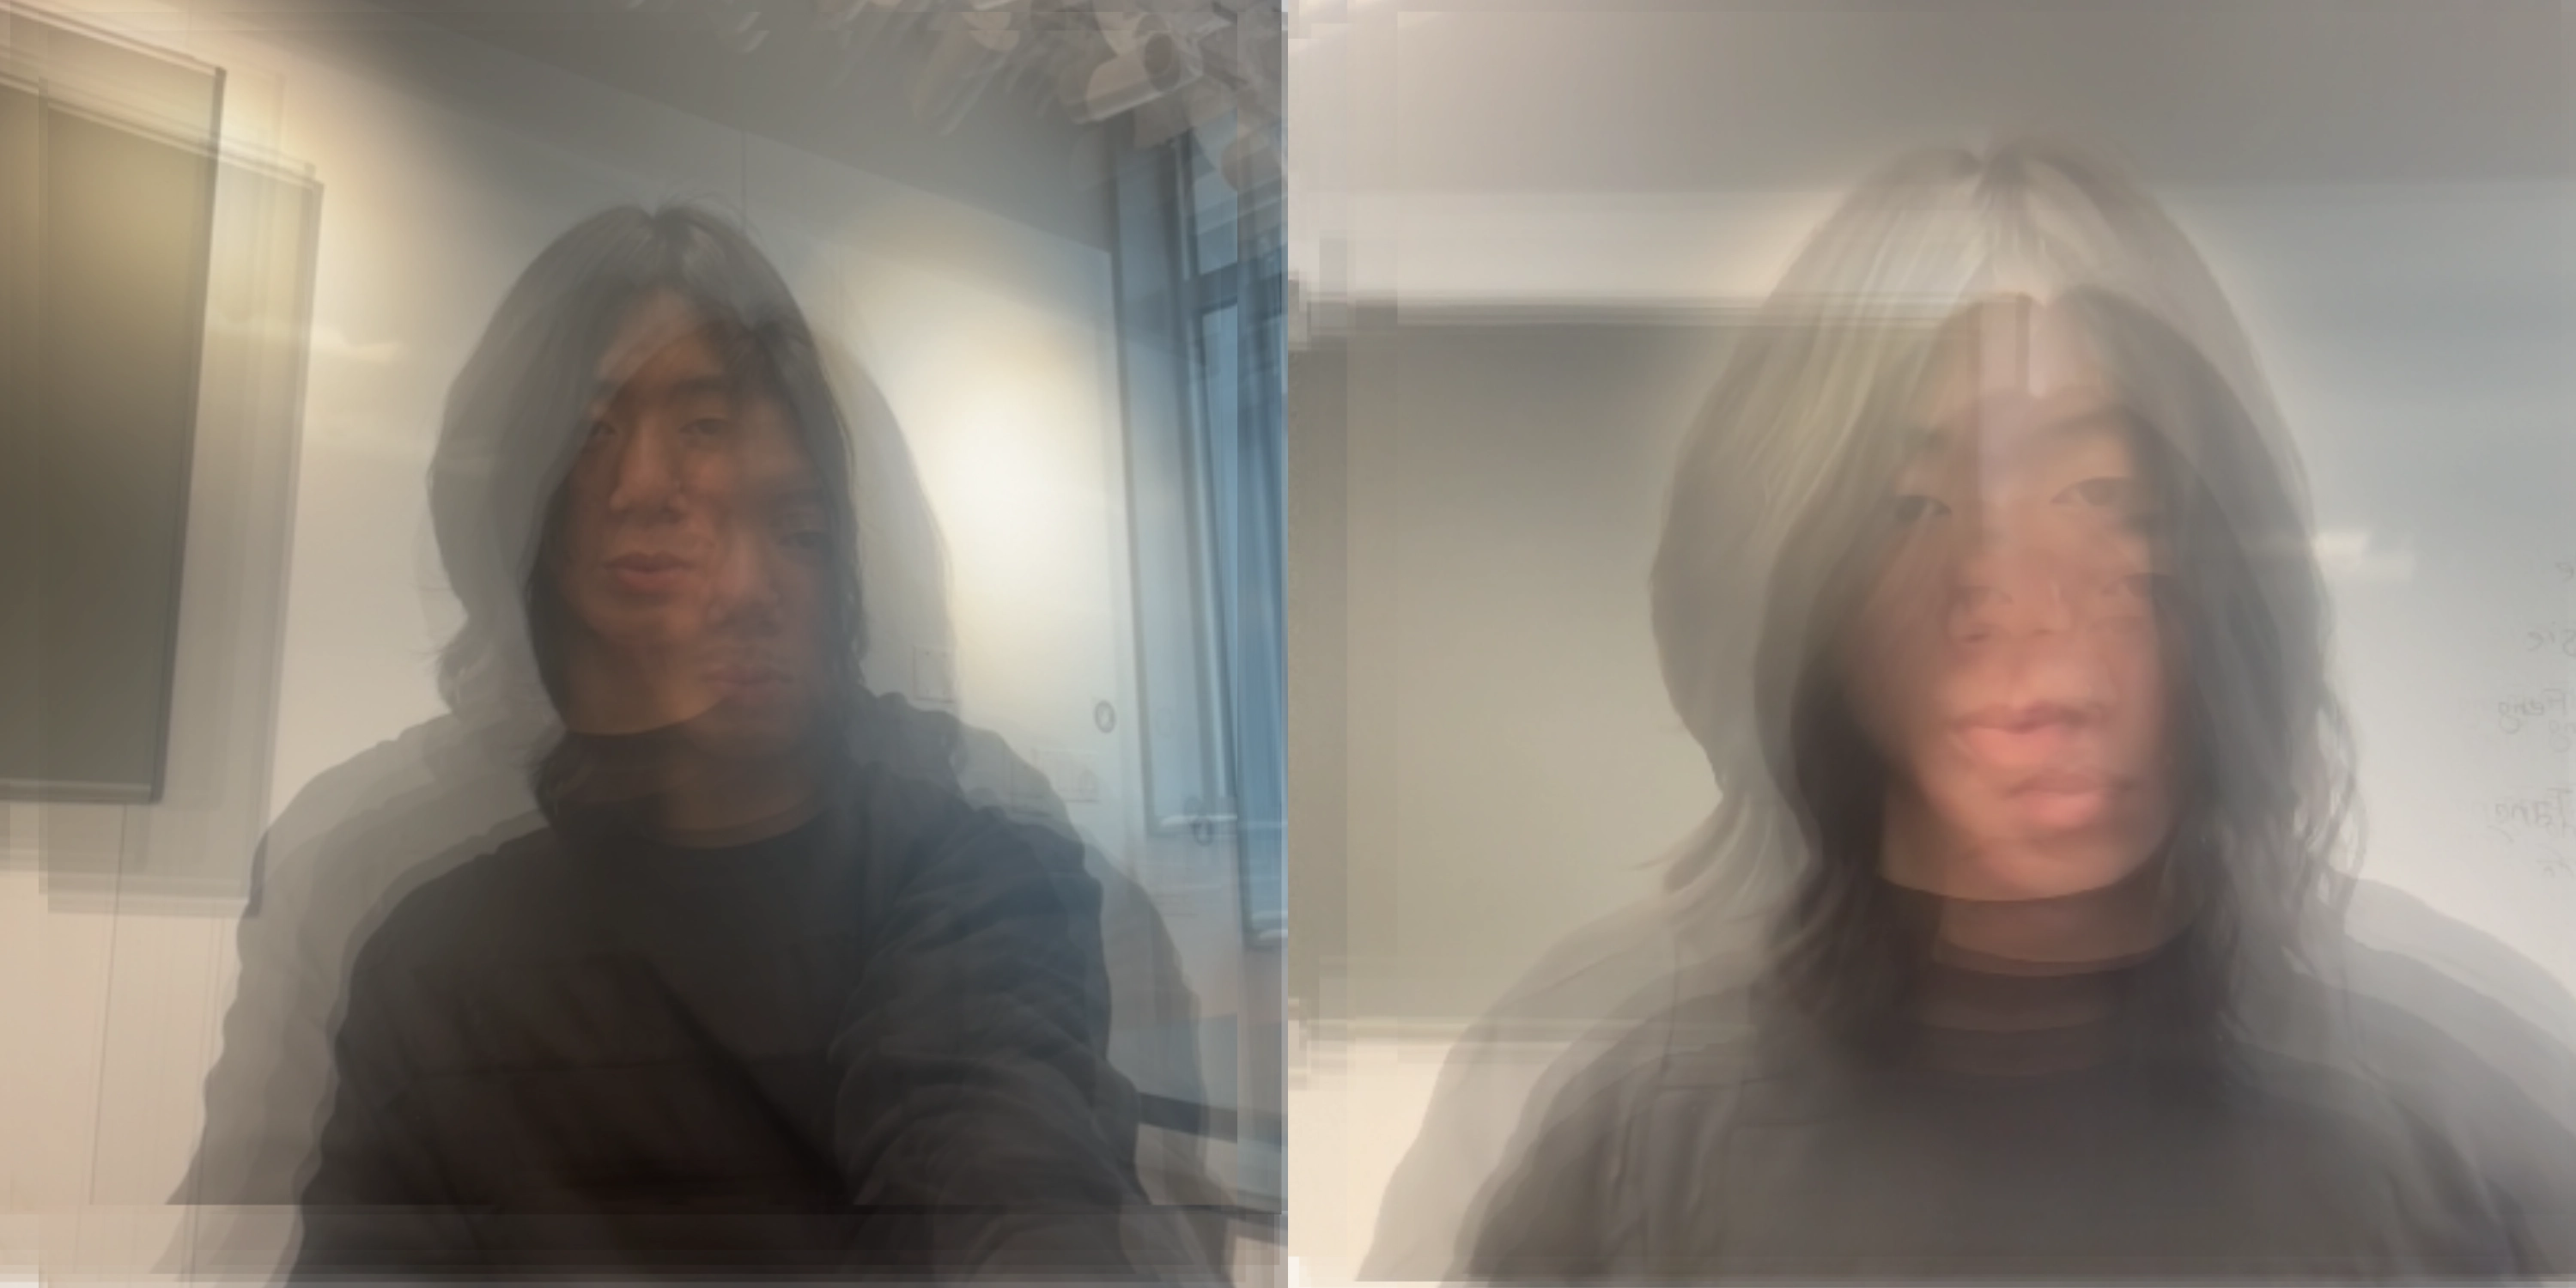
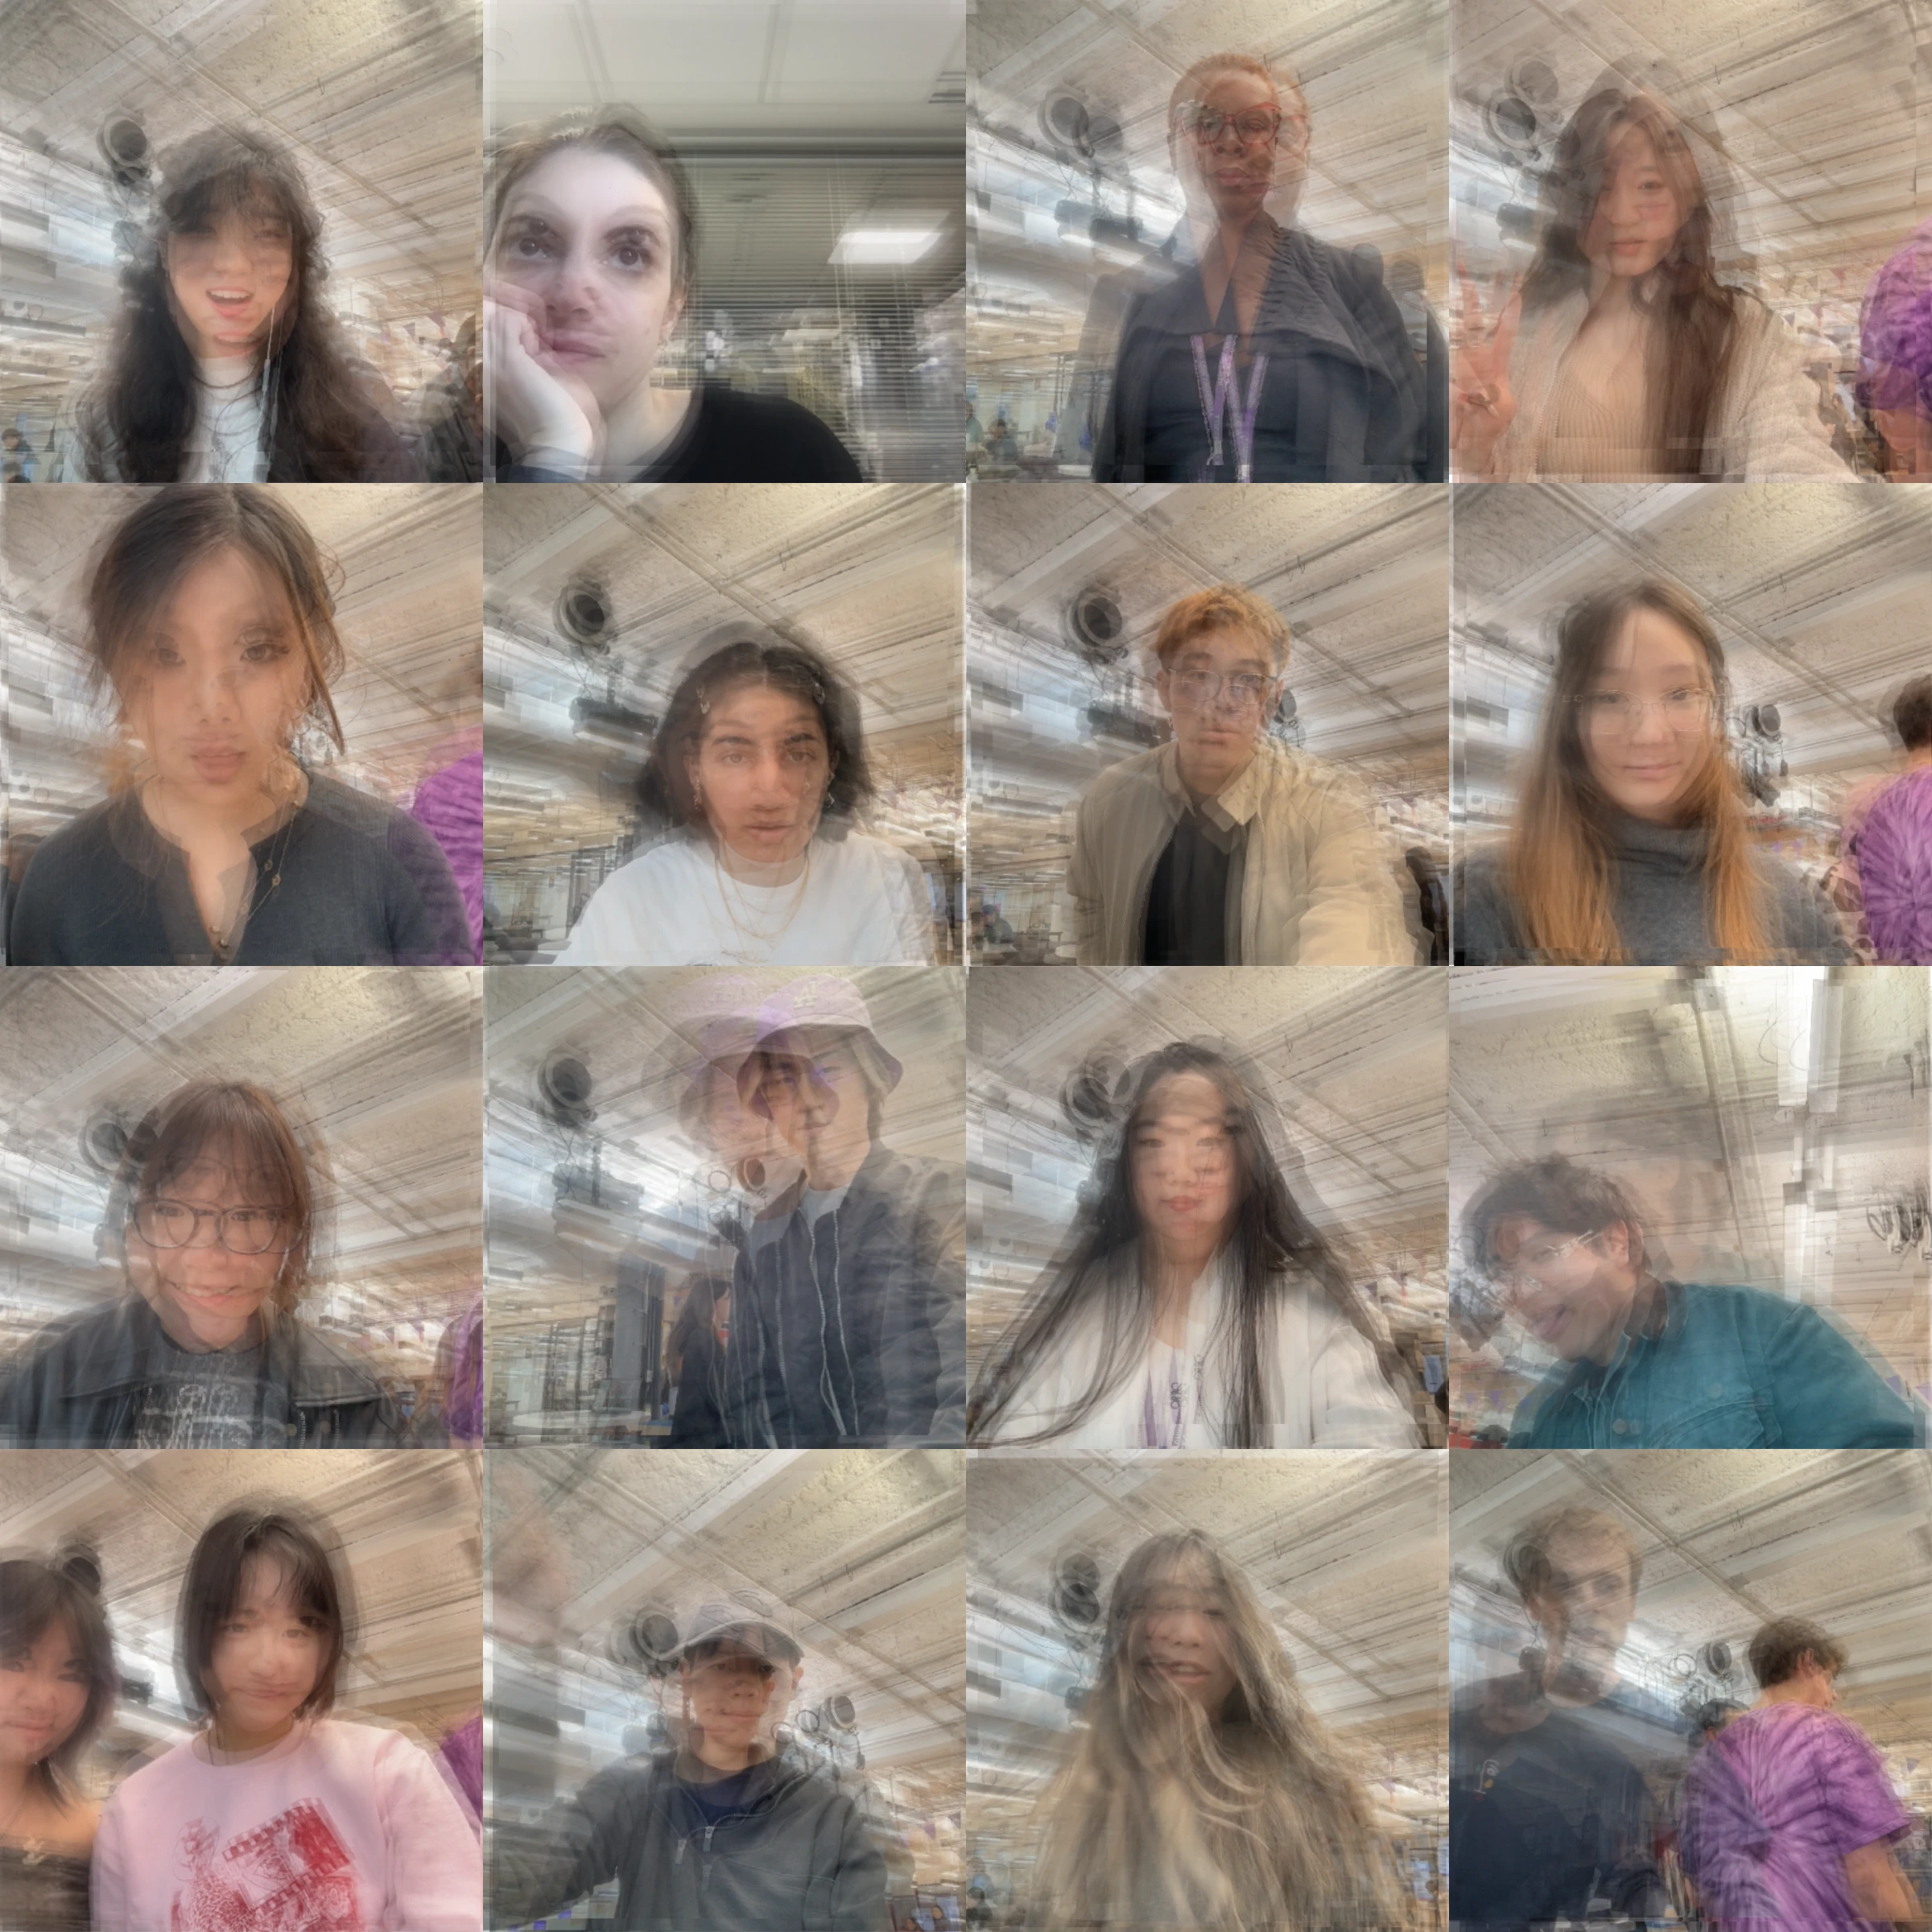
I want to create a photobooth experience that's unlike the convensional one. In a traditional photobooth, the user has full control of when the photo is taken and what the photo will look like (through the preview). But for this project, I made the photobooth to capture not the moment in which the shutter is pressed, but the period of time before it. The 10 photos taken at regular intevals (300 milliseconds) prior to the capture will be merged to create a single photo. Each of the 10 photos will be tinted and shifted randomly in the final outcome, creating a multiple exposure effect that is out of the user's control or expectation. I want the effect to reflect a sense of inner chaos of the user. As the photo is not the capture of a “decisive moment”, but rather a combination of multiple moments.
Process
During the first week of the project, I focused on creating the capture effect. In the draw function of p5.js, I used some if statements and calculations to always draw the camera feed on the canvas in a square aspect ratio.
function draw() {
  if (video.width > 0 && video.height > 0 && selectedPhoto == "") {
    background(255);

    if (video.width >= video.height) {
      sWidth = video.height;
      sHeight = video.height;
      sx = (video.width - sWidth) / 2;
      sy = 0;
    } else {
      sWidth = video.width;
      sHeight = video.width;
      sx = 0;
      sy = (video.height - sHeight) / 2;
    }

    image(video, 0, 0, width, height, sx, sy, sWidth, sHeight);
  }
}
Then I used the JavaScript function setInterval() to save photos at regular intervals of 300 milliseconds into an array, when the length of the array exceeds 10, the program will use the splice() function to remove the first photo at the index 0 (the oldest photo in the erray).
let captureInterval = setInterval(function () {
  if (video) {
    let photo = video.get();
    photos.push(photo);
  }
  if (photos.length > 10) {
    photos.splice(0, 1);
  }
}, 300);
When the user clicks the shutter button, the capture() function is called. Which will take the 10 photos currently stored in the array and draw them not onto the main canvas but a "graphics", basically a hidden canvas created using the p5 function createGraphics(). Each of the photo is given an opacity with the tint() function in p5, and using the imageMode(CENTER) and randomGaussian() functions, the program shift each photo to a random offset from the center.
function capture() {
  let myPhoto = createGraphics(photoWidth, photoHeight)
  photos.forEach((photo) => {
    myPhoto.imageMode(CENTER);
    myPhoto.image(photo, randomGaussian(photoWidth / 2, 20), randomGaussian(photoHeight / 2, 20), width, height, sx, sy, sWidth, sHeight);
    myPhoto.tint(255, 100);
  })

  ...
}
That wraps up the basic function of my photobooth. But after some user testing and further exploration, I decided to enhance the experience by integrating the p5 canvas onto a webpage and creating a more intuative and photobooth-like interface with HTML/CSS and pure JavaScript code. I also wanted to add a feature which allows the user to simply scan a QR code with their phones and download the photo they took with the photobooth, this means I have to upload the photos to a server and generate a unique download link, then convert the link into a QR code.
So I first convert the "graphics" object into a Base64 encoded string, which is then converted a temporary image file using the base64ToFile() function. The file is then uploaded to my server using the fetch() function in JavaScript. Meanwhile, the temporary image file will be displayed on the side in the list of photos captured. Once the upload is completed, the server will respond with a unique string, which will be assigned to the id attribute of the HTML image element of the photo, allowing the generatation of a download link once the photo is clicked by the user.
function capture() {
  if (photos.length == 10 && !takingPicture) {
    takingPicture = true
    captureButton.style.pointerEvents = "none"

    ...

    let imageBase64String = myPhoto.elt.toDataURL();

    let lastPhoto = document.createElement('img')
    lastPhoto.className = "photo photo-animate"
    lastPhoto.id = "last-photo"
    photosSection.prepend(lastPhoto)

    lastPhoto.src = imageBase64String
    setTimeout(() => {
      lastPhoto.scrollIntoView({
        behavior: "smooth"
      });
      takingPicture = false
    }, 10)

    let file = base64ToFile(imageBase64String, 'photo.png');
    var data = new FormData()
    data.append('photo', file)

    fetch('/upload/', {
      method: 'POST',
      body: data
    })
      .then(response => {

        if (!response.ok) {
          takingPicture = false
          captureButton.style.pointerEvents = "auto"
          return
        }

        response.text().then(function (text) {
          lastPhoto.id = "photo-" + text
          lastPhoto.setAttribute('onclick', "selectPhoto('" + text + "')");
          setTimeout(() => {
            captureButton.style.pointerEvents = "auto"
            lastPhoto.classList.remove("photo-animate")
          }, 500)
        })
      })
      .catch(error => {
        captureButton.style.pointerEvents = "auto"
      })
  }
}

function base64ToFile(base64String, filename) {
  const arr = base64String.split(',');
  const mime = arr[0].match(/:(.*?);/)[1];
  const bstr = atob(arr[1]);
  let n = bstr.length;
  const u8arr = new Uint8Array(n);
  while (n--) {
    u8arr[n] = bstr.charCodeAt(n);
  }
  return new File([u8arr], filename, { type: mime });
}
When the user click on a photo in the list, the function selectPhoto() function will be called, passing the unique string assigned to the specific image. A preview of the photo will be displayed, and the program will generate a link with the unique string, then use another function getQRCode() to create a QR code for the link. The QR code will be displayed beside the preview, and the user can scan it with their phone to access and download their photo.
function selectPhoto(code) {
  if (selectedPhoto == "photo-" + code) {
    document.getElementById(selectedPhoto).style.outline = "3px solid transparent"
    photoDisplay.style.opacity = 0
    captureButton.style.opacity = 1
    qrCodeSection.style.opacity = 0
    captureButton.style.pointerEvents = "auto"
    selectedPhoto = ""
  } else {
    if (selectedPhoto != "") {
      document.getElementById(selectedPhoto).style.outline = "3px solid transparent"
    }
    captureButton.style.pointerEvents = "none"
    setTimeout(() => {
      getQRCode("https://photobooth.interfinity.tech/download/" + code + "/")
    }, 0)
    selectedPhoto = "photo-" + code
    let photo = document.getElementById(selectedPhoto)
    photoDisplay.style.backgroundImage = "url(" + photo.src + ")"
    photoDisplay.style.opacity = 1
    qrCodeSection.style.opacity = 1
    captureButton.style.opacity = 0
    if (photo) {
      photo.style.outline = "3px solid white"
    }
  }
}
The getQRCode function uses an open source JavaScript library (https://github.com/kozakdenys/qr-code-styling) to create a QR code svg image, which can be displayed within the webpage. When the user scan the QR code with their phone, they could open a webpage containing their photo, then long-press to save it.
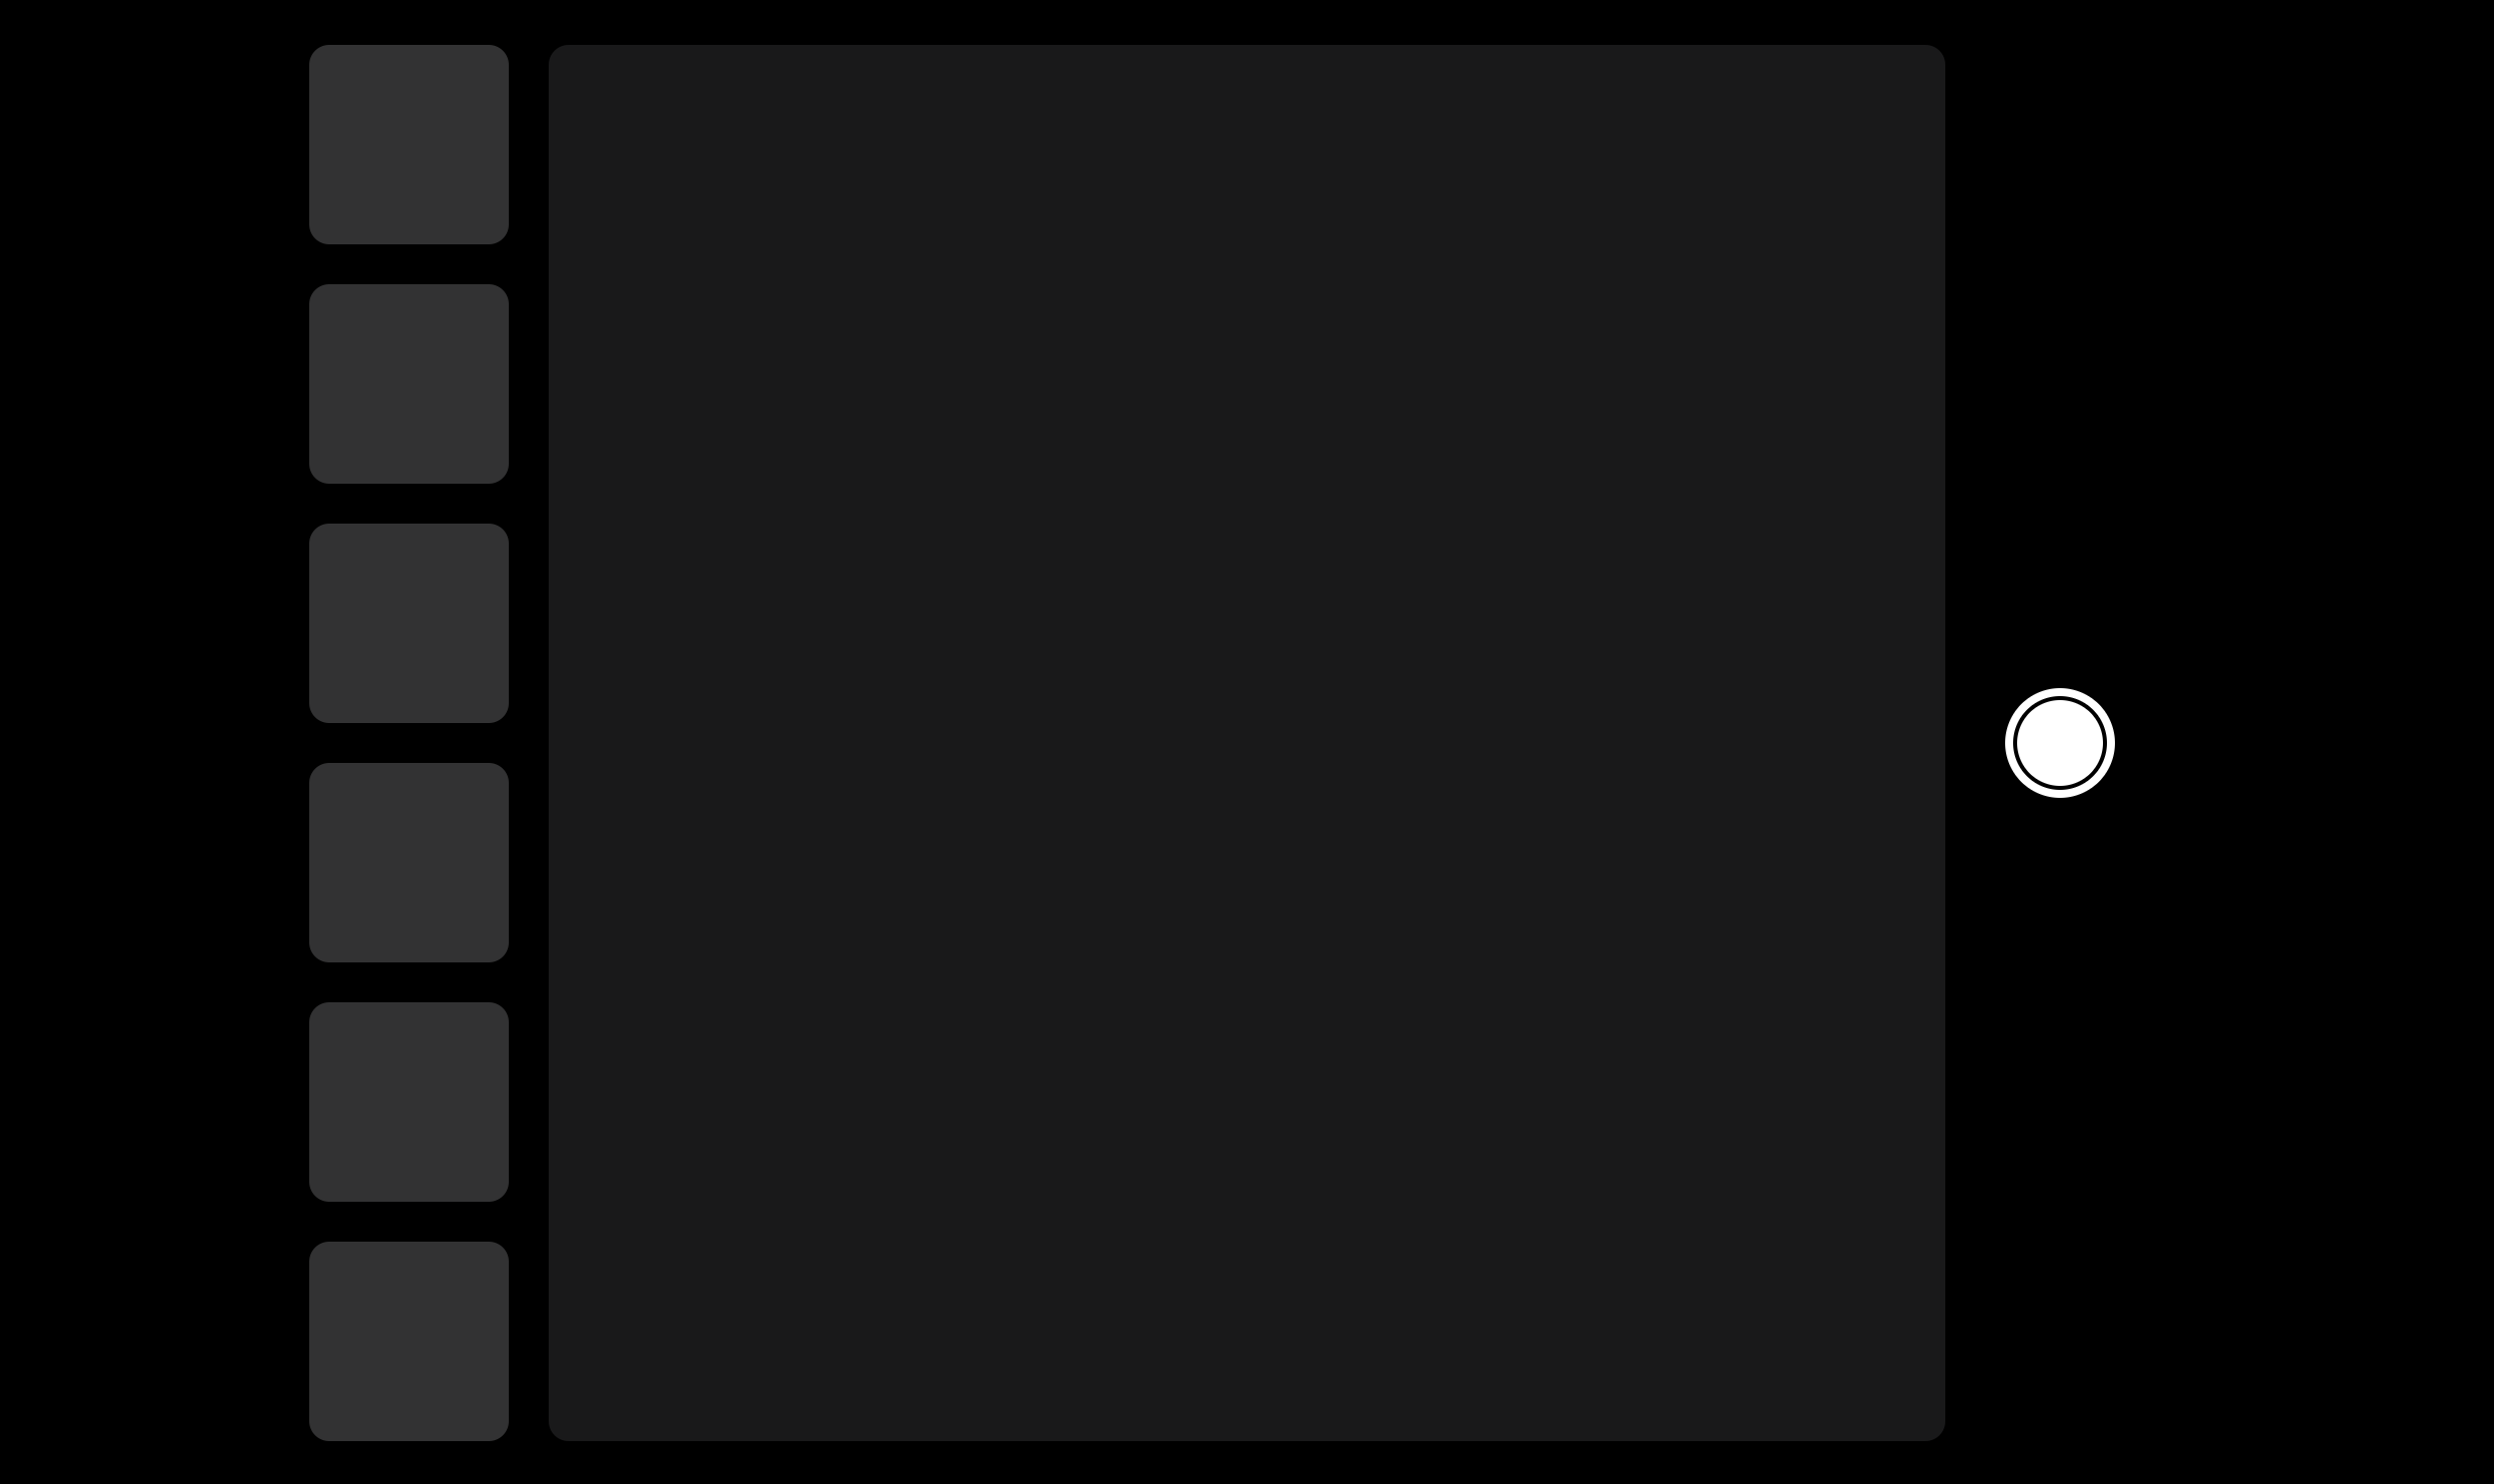
UI Design
For the User Interface, I placed the camera preview at the center, which will display the camera footage in real time, not giving any hit of the capture process. The list of photos taken is on the left, while the capture button is on the right. The lastest photo will always be at the top of the list.
Example Shots